Your First Class!
Now that you’ve created a class within Google Classroom you will see a screen similar to the image. The name of your class will show at the top of the randomly selected banner. Credit where credit is due, if your course contains a subject-specific word, you likely see a banner that in some way reflects that. (If this was a science class, odds are good that the image would have something to do with science!) Google is pretty intuitive that way.
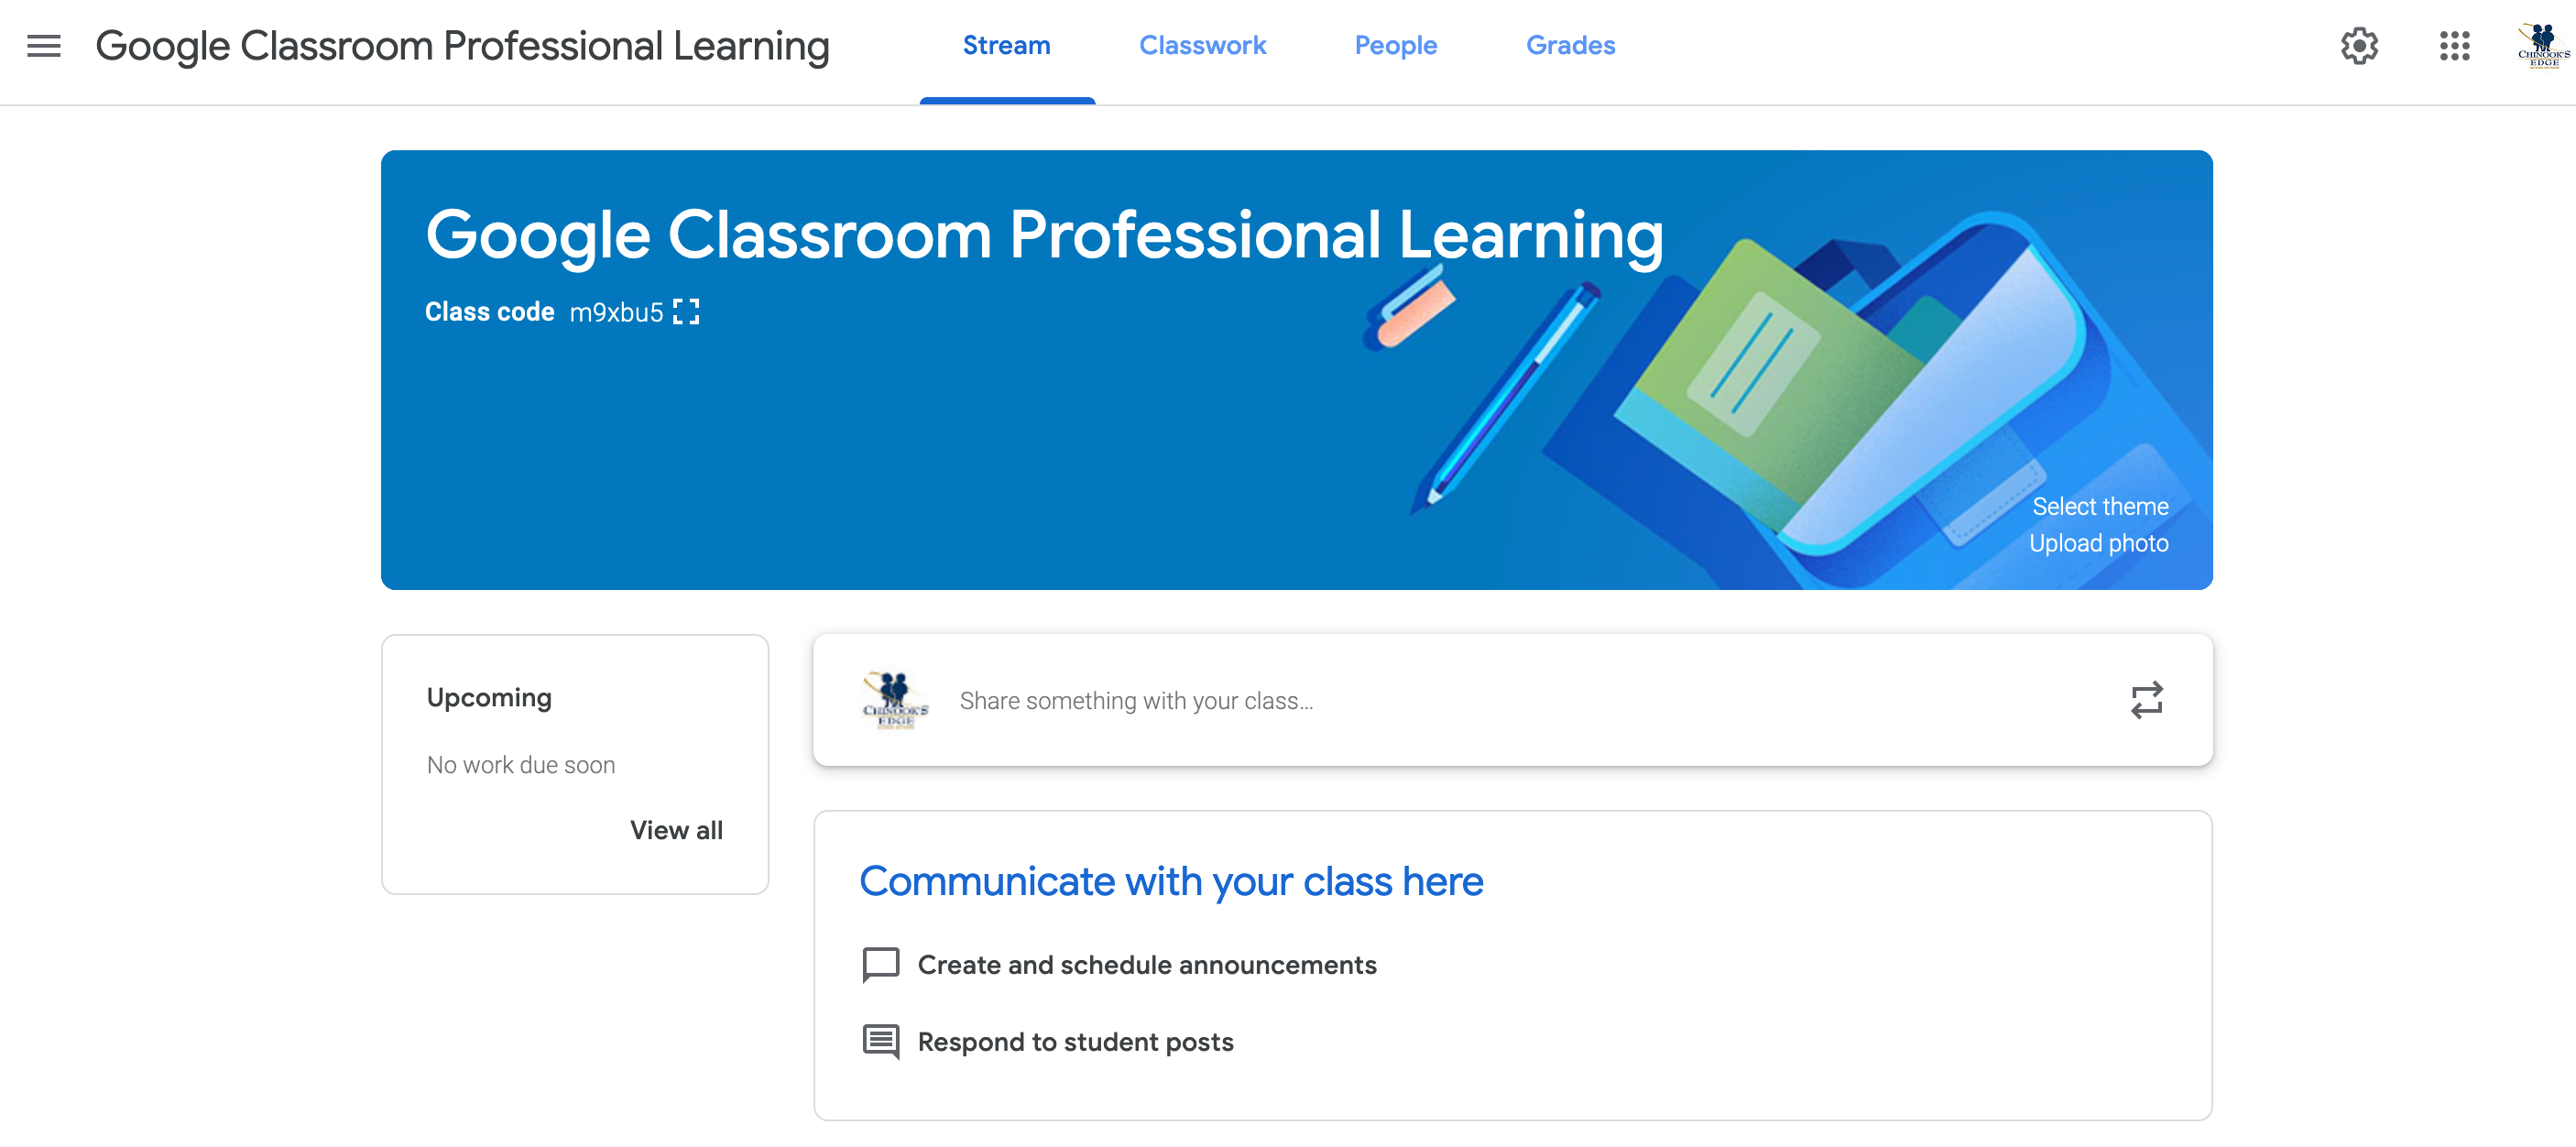
In true Google style, the screen is a very clean layout, free of clutter. This has its positives and its negatives. On the positive side, there’s not a lot of clutter, but on the other hand, sometimes it can be a bit tough to re-find something you know you found once. We’ve all been there. “I know I saw a screen where I could control the students’ ability to use the commenting feature, but where was that?!” All the controls you need are here. We’ll go through them one at a time.
The Four Main Spaces a Teacher Needs
At the top of every screen within a class you will see the same four links.
Stream
Classwork
People
Grades
The last three are obvious. In years past, the “Stream” has presented a bit of confusion for teachers, but we will sort that out within this professional learning series. You needn’t worry about it yet, we will get to that later. For now, you need only be aware that those four links are your main navigation in any of your classes.

The Gear = Settings
The gear (or sprocket if you prefer) is a universal icon in technology indicating settings. In any classroom, you have a fair number of controls as to how the class operates. We all know that classlists have their own group personality. Some classlists are easy to manage, and other classlists can be a greater challenge. You can adjust the settings of each class to best reflect your needs as the teacher, as well as the needs of the students. We will look deeper into the settings after we finish our little tour of your screen and we post your welcome message.

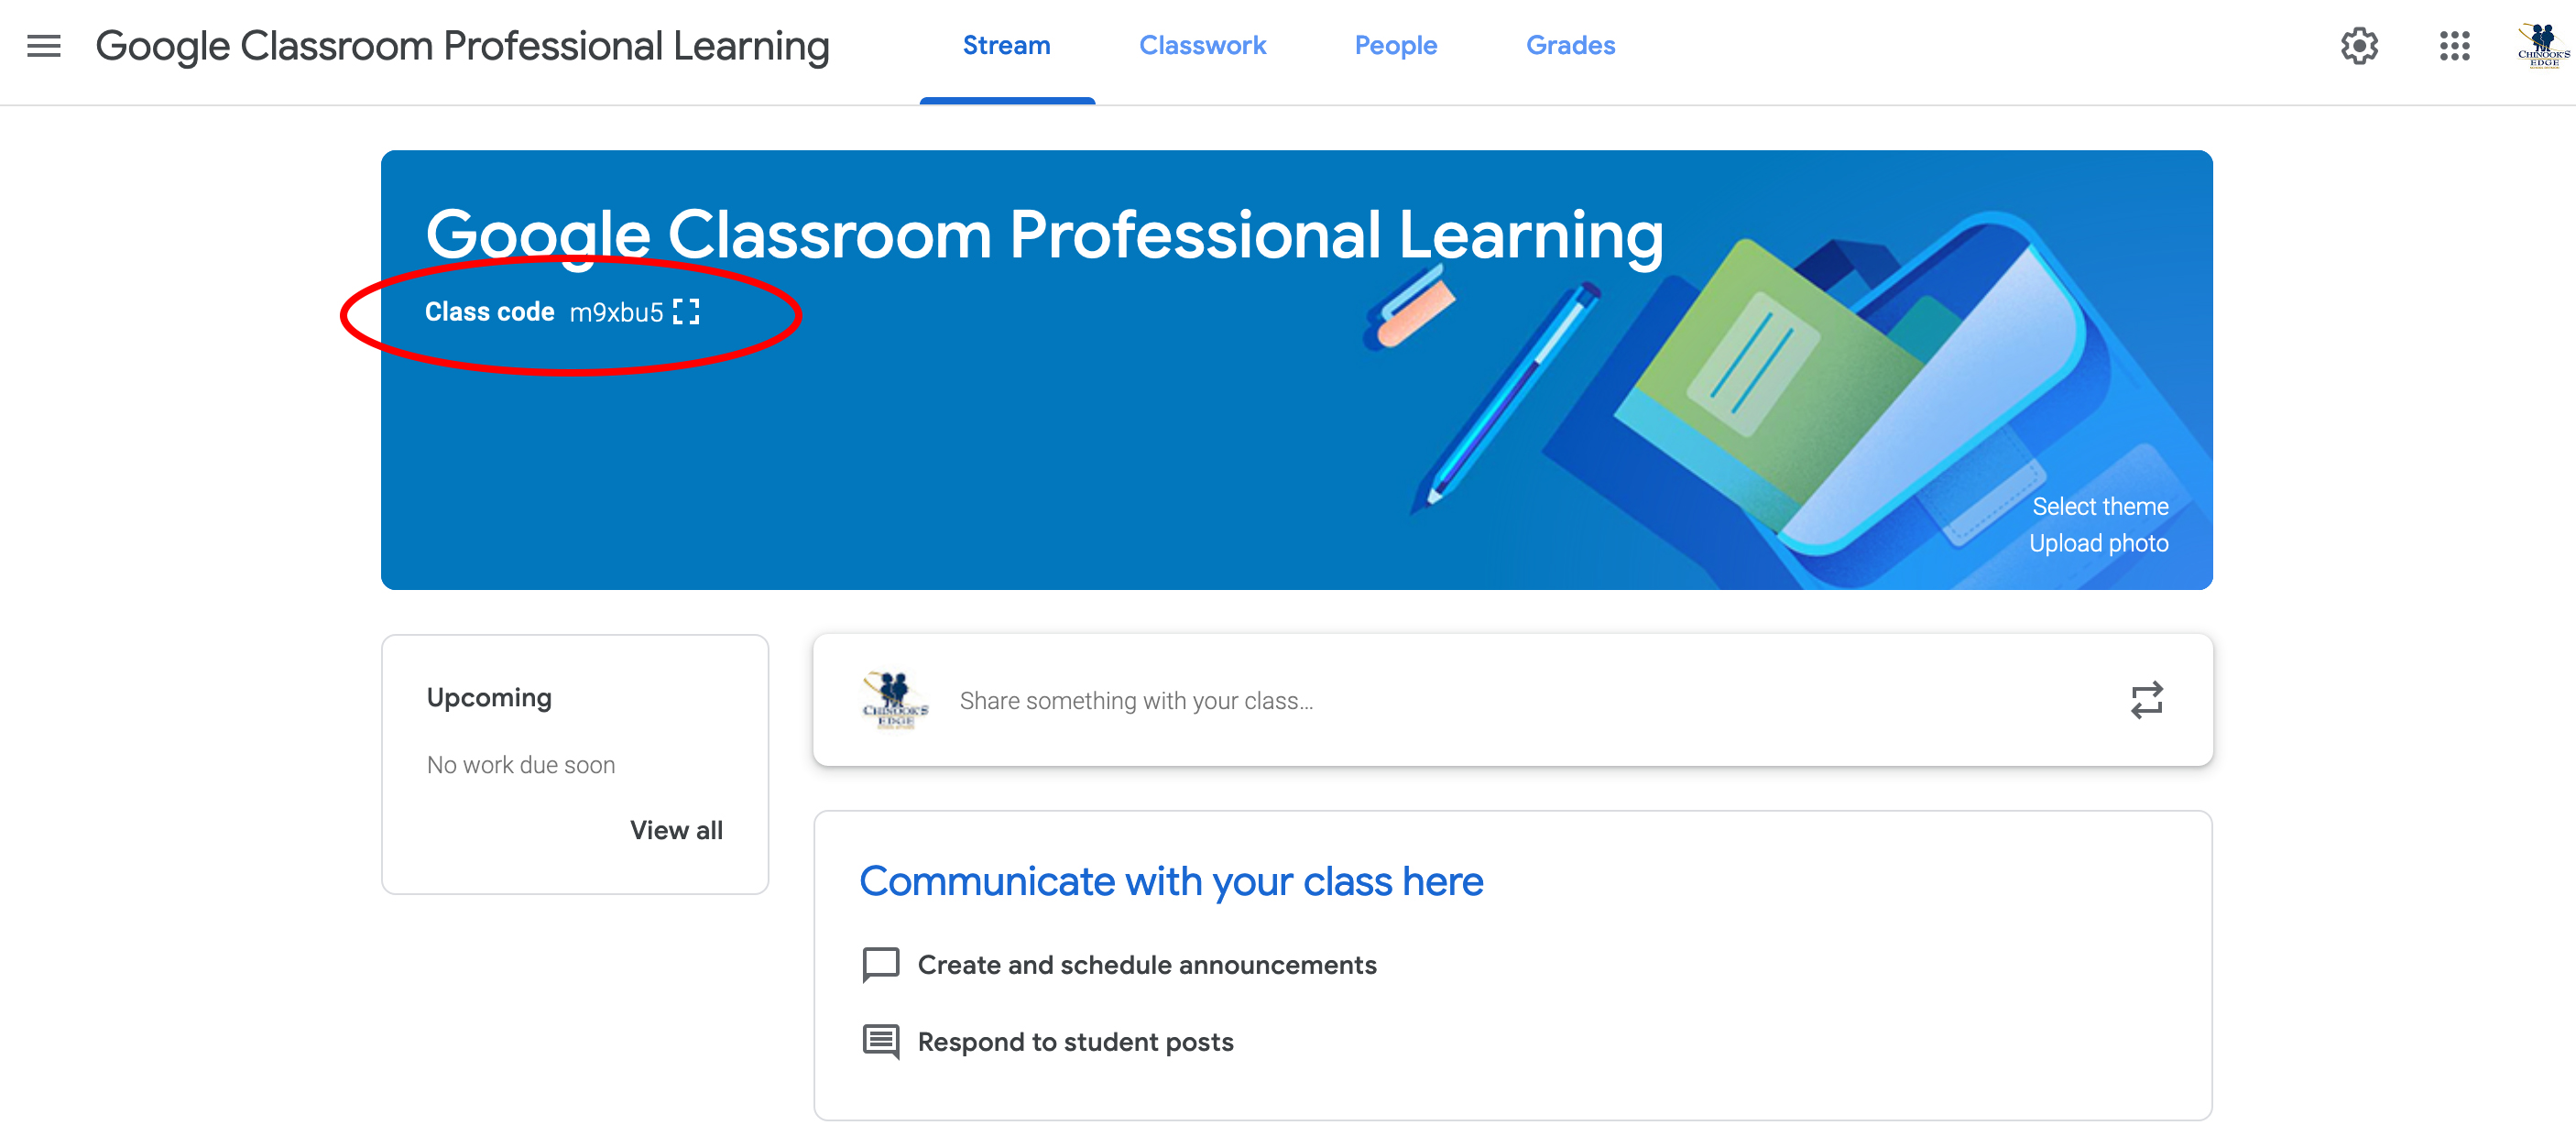
The Class Code
This is the random code (you can change it anytime) that a student needs in order to join your class. They only need it one time, and going forward, anytime they visit classroom.google.com they will have access to the contents of your class.
The class code is not the only way to have students enrol in your class. There is an option in the students tab to invite students. The invitation would be sent to their email, and they would accept the invitation there. In my experience, using the class code has been less chaos in the classroom than emailing the invitations, as students do not need to be thinking about two things at once (GMail and Google Classroom), with the Class Code, they are tasked with only one action to undertake.
Upcoming
This is a super quick summary that both the teacher and the students see immediately upon entry into Google Classroom. This is populated atumatically when you enter deadlines onto assignments. It will alert students when deadlines are near and will inform students when an assignment is past due.
Additionally, when a deadline is entered into an assignment on Google Classroom, the deadline is pushed into the student’s Google Calendar. All the more reason to encourage older students to be actively using Google Calendar in their mobile devices. Picture a high school student who uses Google Calendar to organize school, work, extracurricular…. every assignment that a teacher posts to Google Classroom will appear in their calendar. The integration of GSuite is pretty fantastic; and it grows even stronger when an entire organization is using it.

The Burger
Akin to the “waffle”, the “burger” is a menu. When you click on the burger, you will see all your classes, as well as the navigation to the screen that shows all your classes as thumbnails.

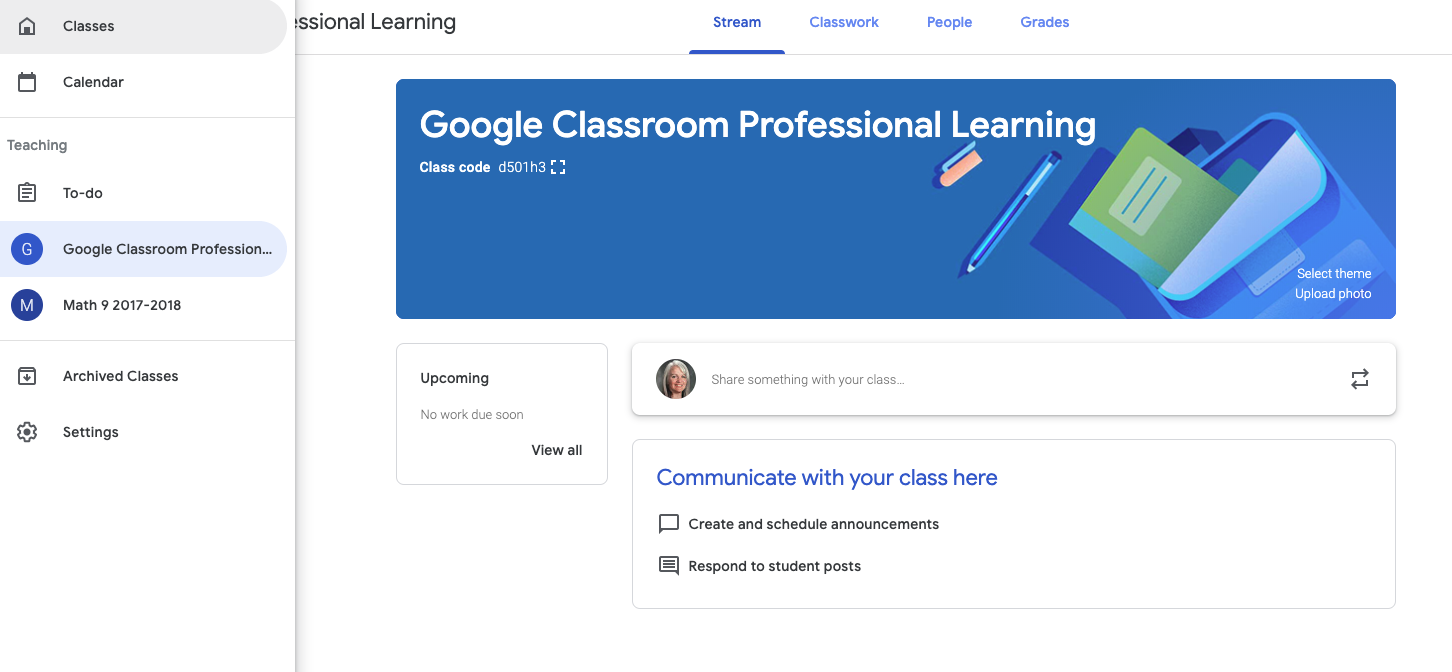
The image illustrates the content contained in this menu.
The calendar link will take you to the Google Calendar that contains all your Google Classroom content that comes in the form of dates. Deadlines, test dates and other information that you push out to your students that contains a date will show here.
“To-do” is a sweet new addition that provides you a short list of student work that needs to be reviewed. No more sitting in front of your screen trying to remember which class needs their essays graded – use the “to do” list!
Archived Classes is a space where your Classrooms from “last year” (going back many years for long-term users) that you can easily reference and reuse content from in years to come. Google has made is super easy to find your plans from last year and reaccess them. Your initial investment will pay off greatly!
Settings are your overall settings for your Google Classroom account; different than the gear settings we just finished looking at. If you are receiving an email notification for every little thing that happens on your Classroom, this is where you turn that off. Equally, if you are feeling as though you need email notifications, you may turn them on here.
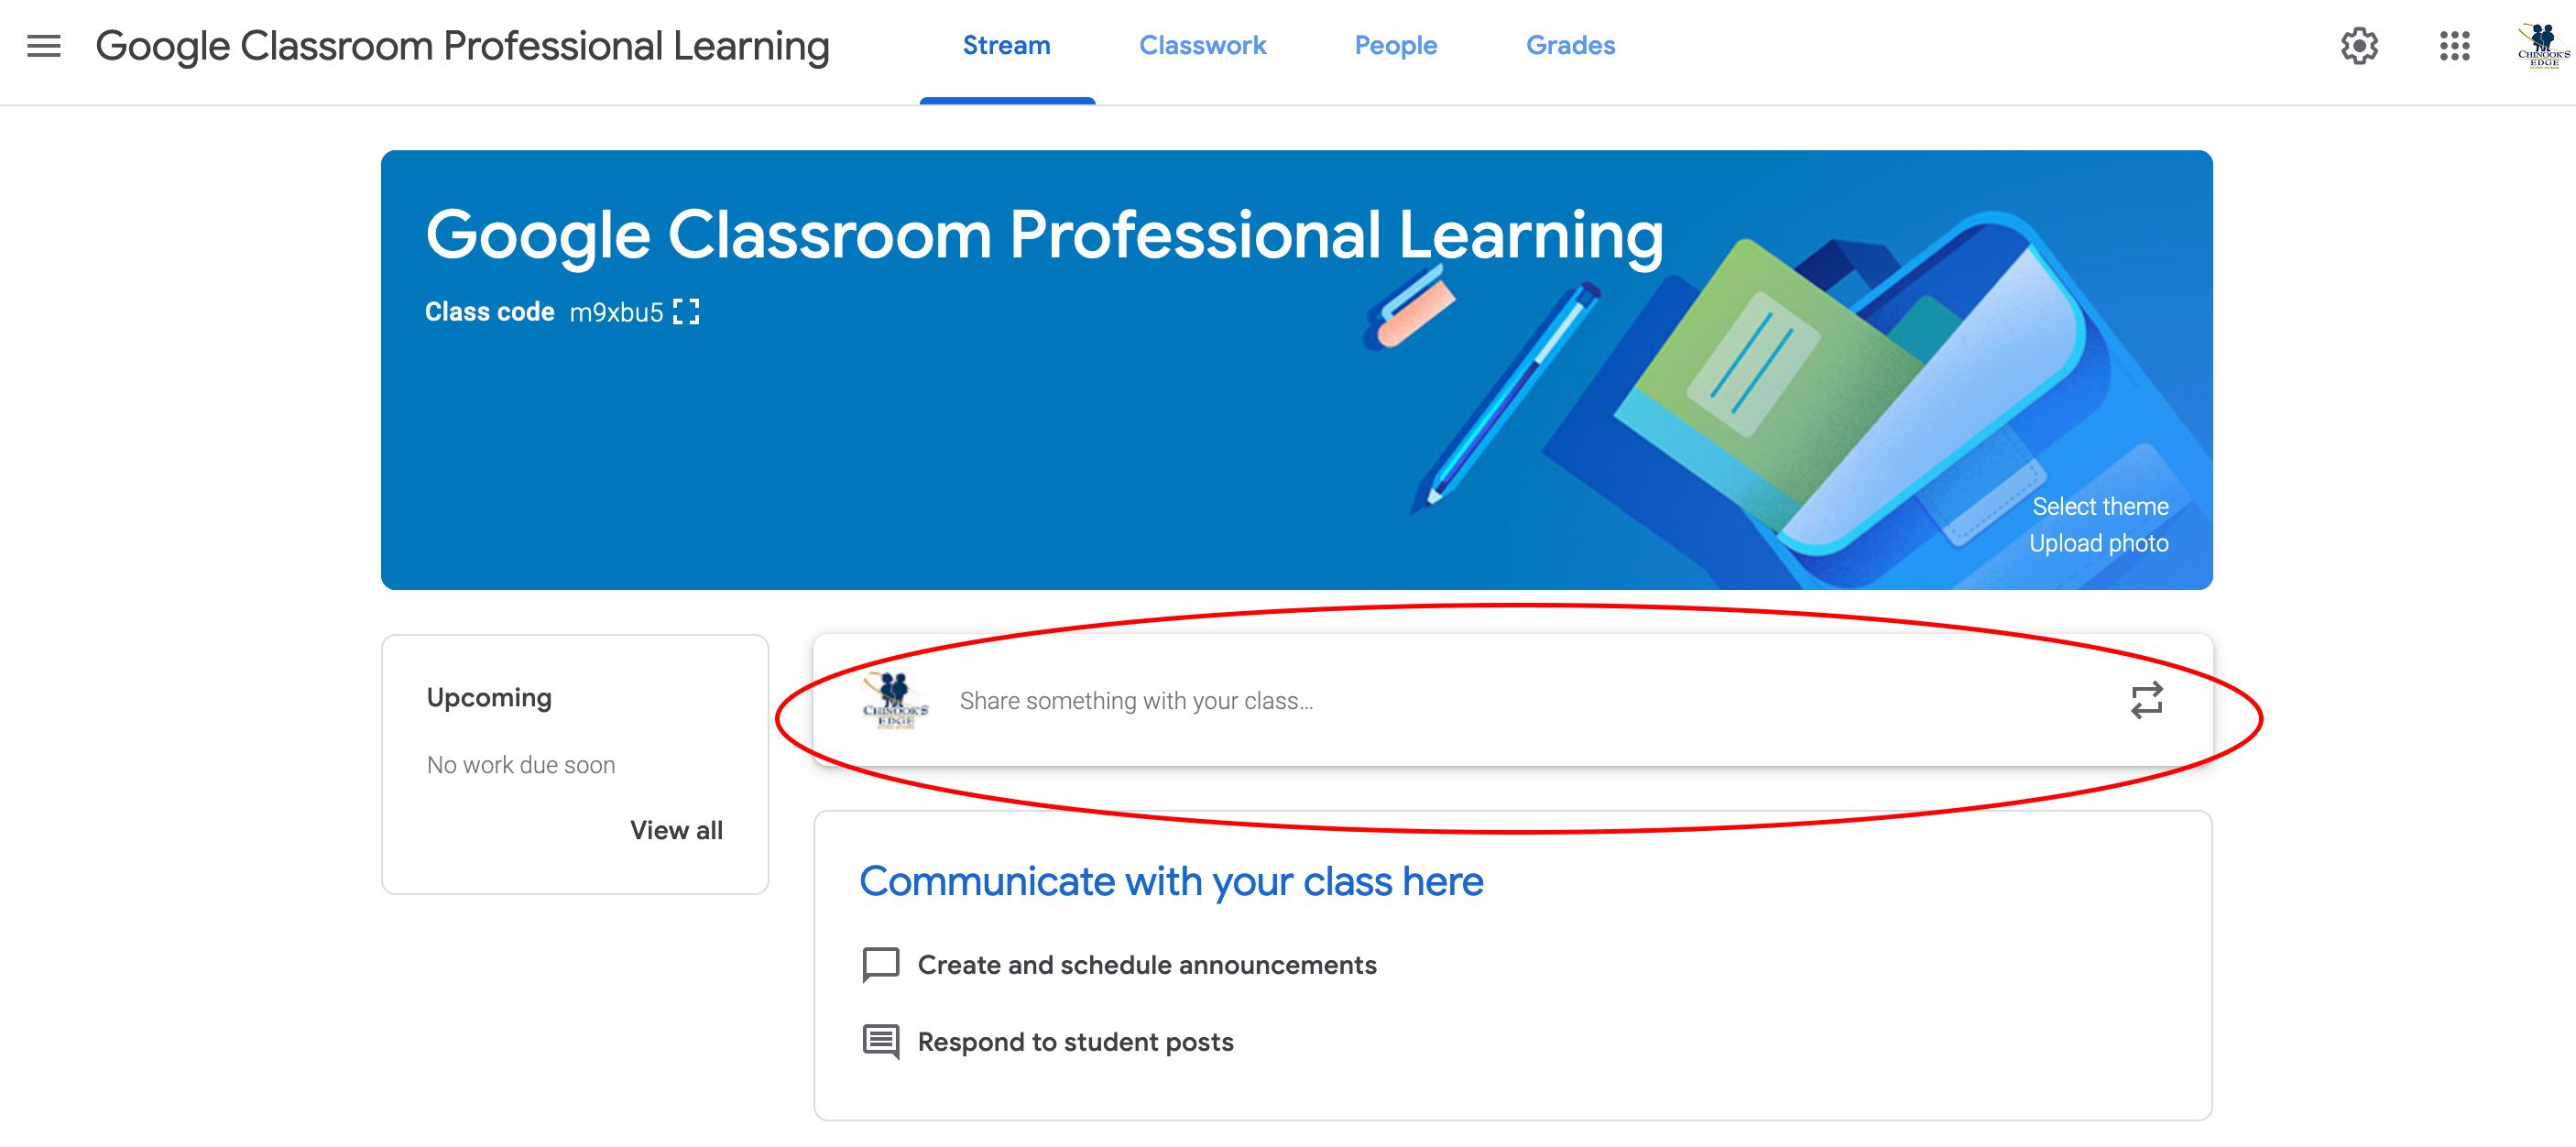
Share Something With Your Class
This space is a great place for announcements, reminders and other housekeeping items. It is the first thing students will see when they enter your Classroom. (Assignments will go under the “Classwork” heading; this space isn’t for assignments.) Things like “Don’t forget you have a test this Friday” or “Tomorrow is school picture day, you might want to remember to shower and comb your hair tomorrow” are good fits for this space. (Depending on how the timetable and homerooms work in your school, some homeroom teachers choose to have a “Homeroom” classroom space for general school reminders and information.)
You may have already noted beneath the circled portion of the graphic, that you can schedule announcements. If you are one of those uber-prepared teachers, you can set up your queue of announcements in advance, and Google Classroom will post them on the date, at the time you selected.
Select Theme/Upoad Photo
If you wish to change the theme of your Google Classroom, this is the place to do that. There are a number of nice themes available to you by clicking on this. Additionally, if you are feeling really ambitious, you can upload a banner of your own creation. We are not going to cover customized banners in this course, but should you wish to do this, Kasey Bell (Shakeup Learning) offers this tutorial to assist you with this.

This concludes our tour of your main Google Classroom Screen.
Next up we will post a welcome message and course outline (or first newsletter).